Guide 115 min read
LlamaPresenter - Media Inspector
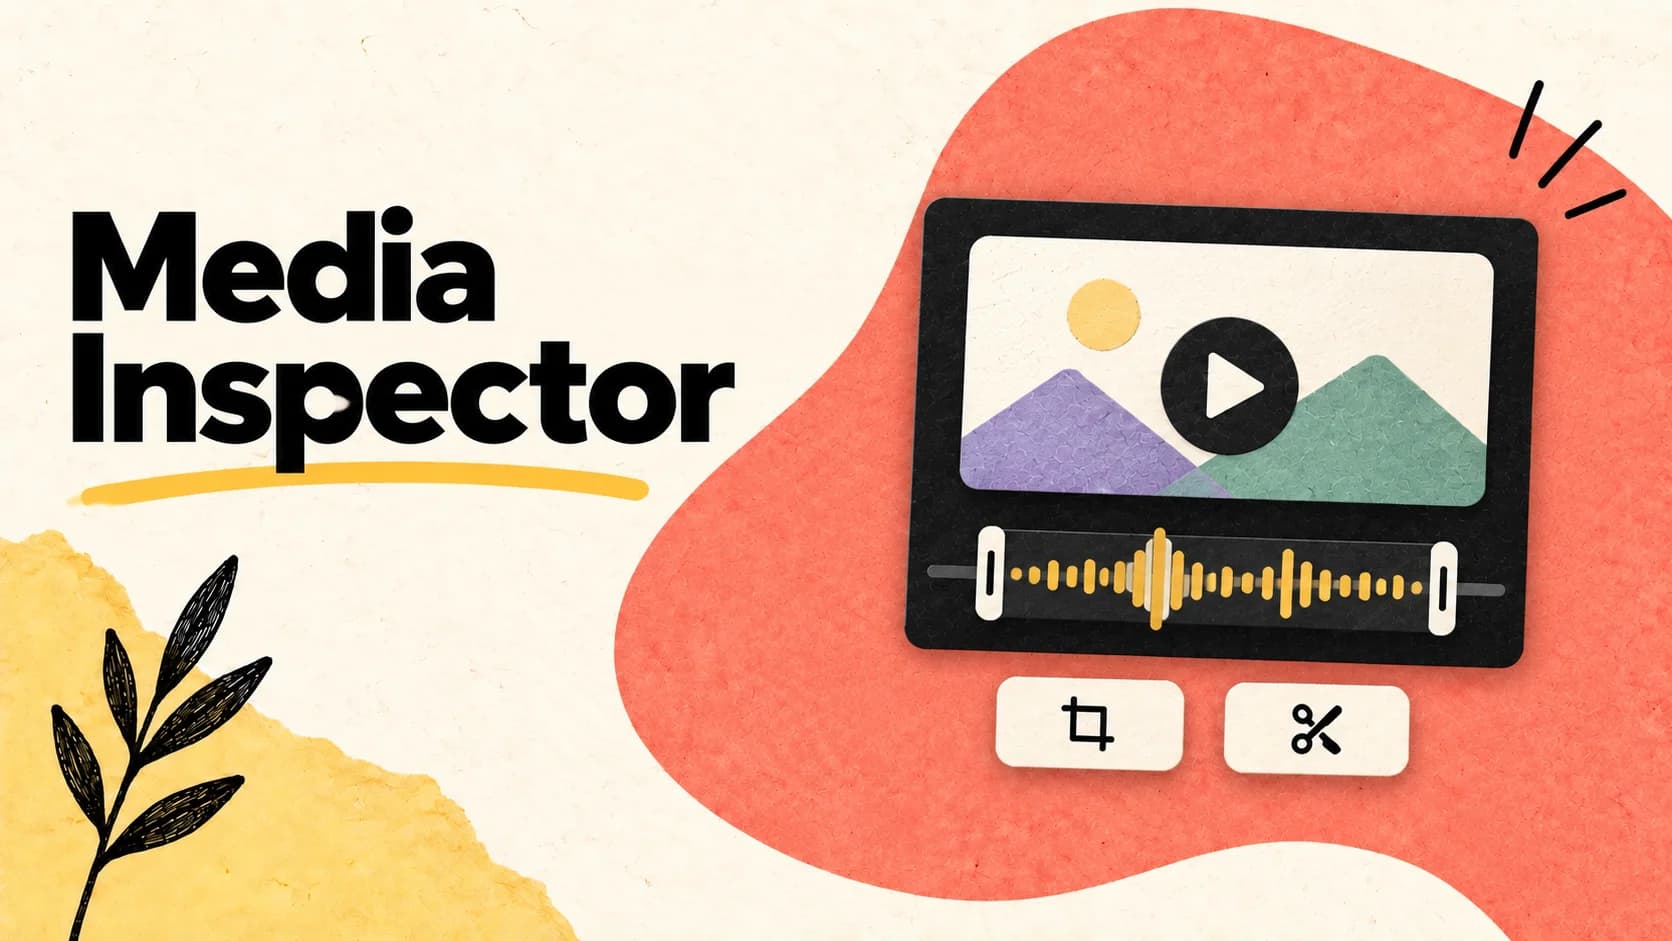
A video rarely arrives ready for every screen. It may need a tighter playable range, a different crop, a slower play rate, or a specific audio output. The Media Inspector puts those decisions in one place.
Open a video from the media library or a presentation, then use the tabs on the right to move between file information, picture controls, transitions, audio, and bookmarks. Keep the preview output selected while you work so every change is checked in the right screen shape.
What this guide helps you do
Use the Media Inspector to prepare one video’s picture, timing, cue points, and audio routing before it goes live.
01
Get to know the Media Inspector
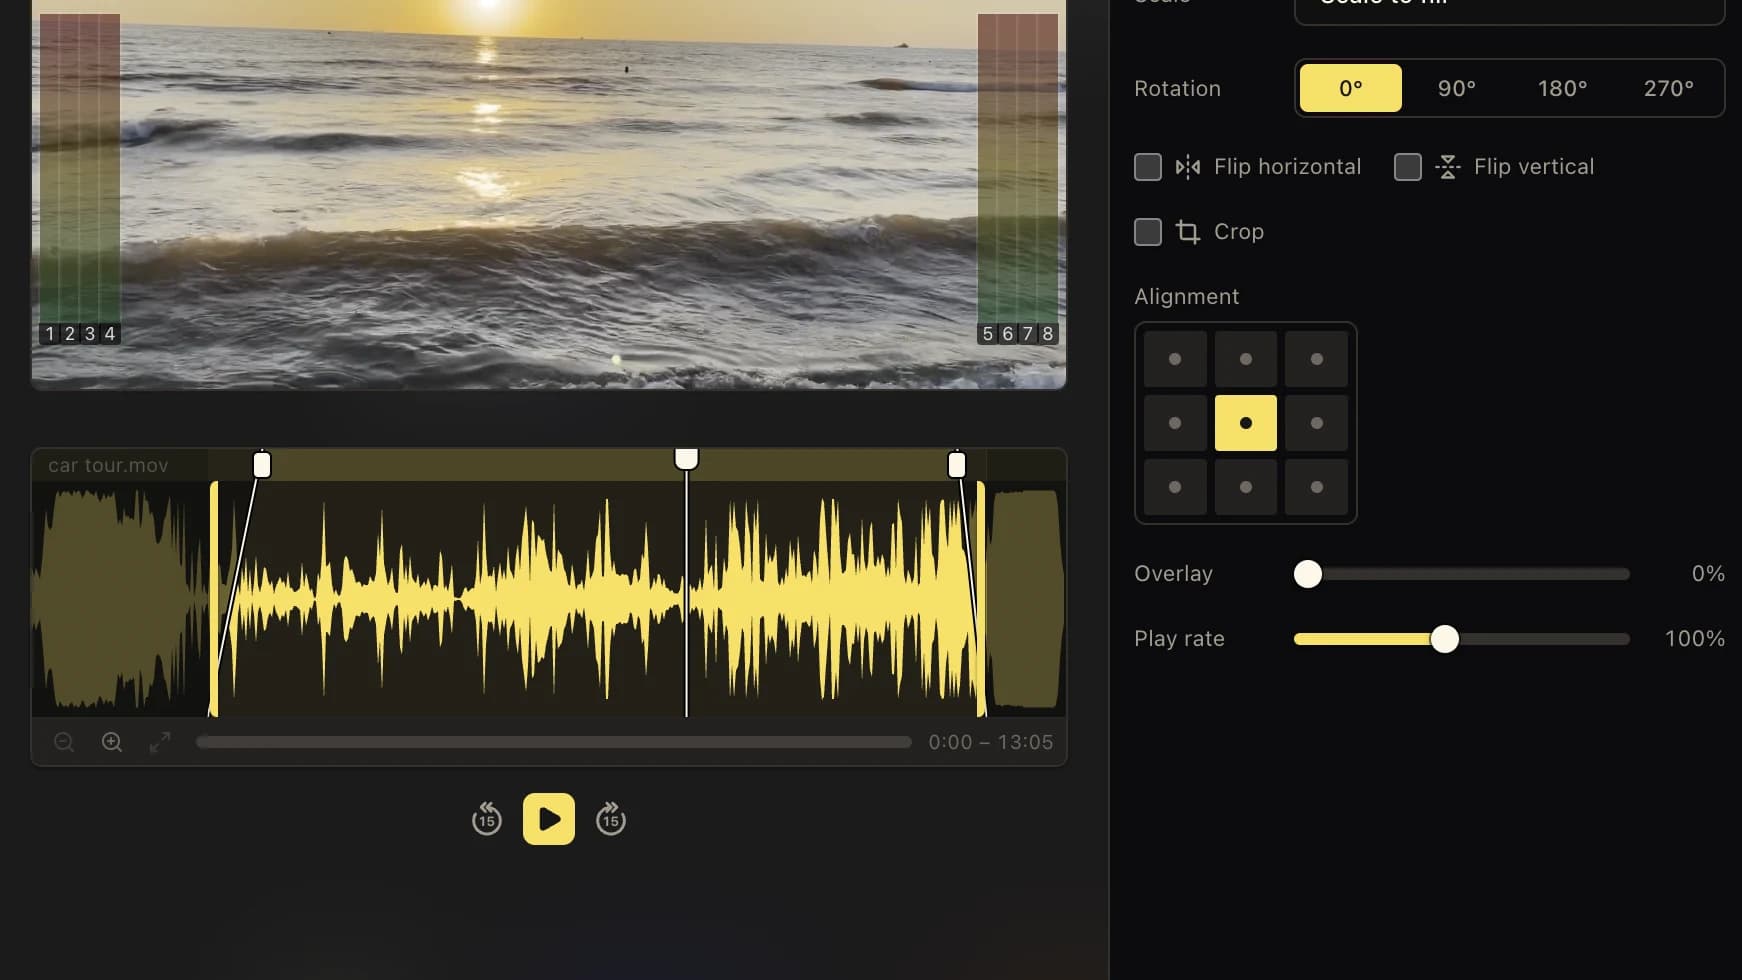
The video preview, editable waveform, and picture controls work together so you can check framing and playback while preparing your media.
02
Frame and preview the video
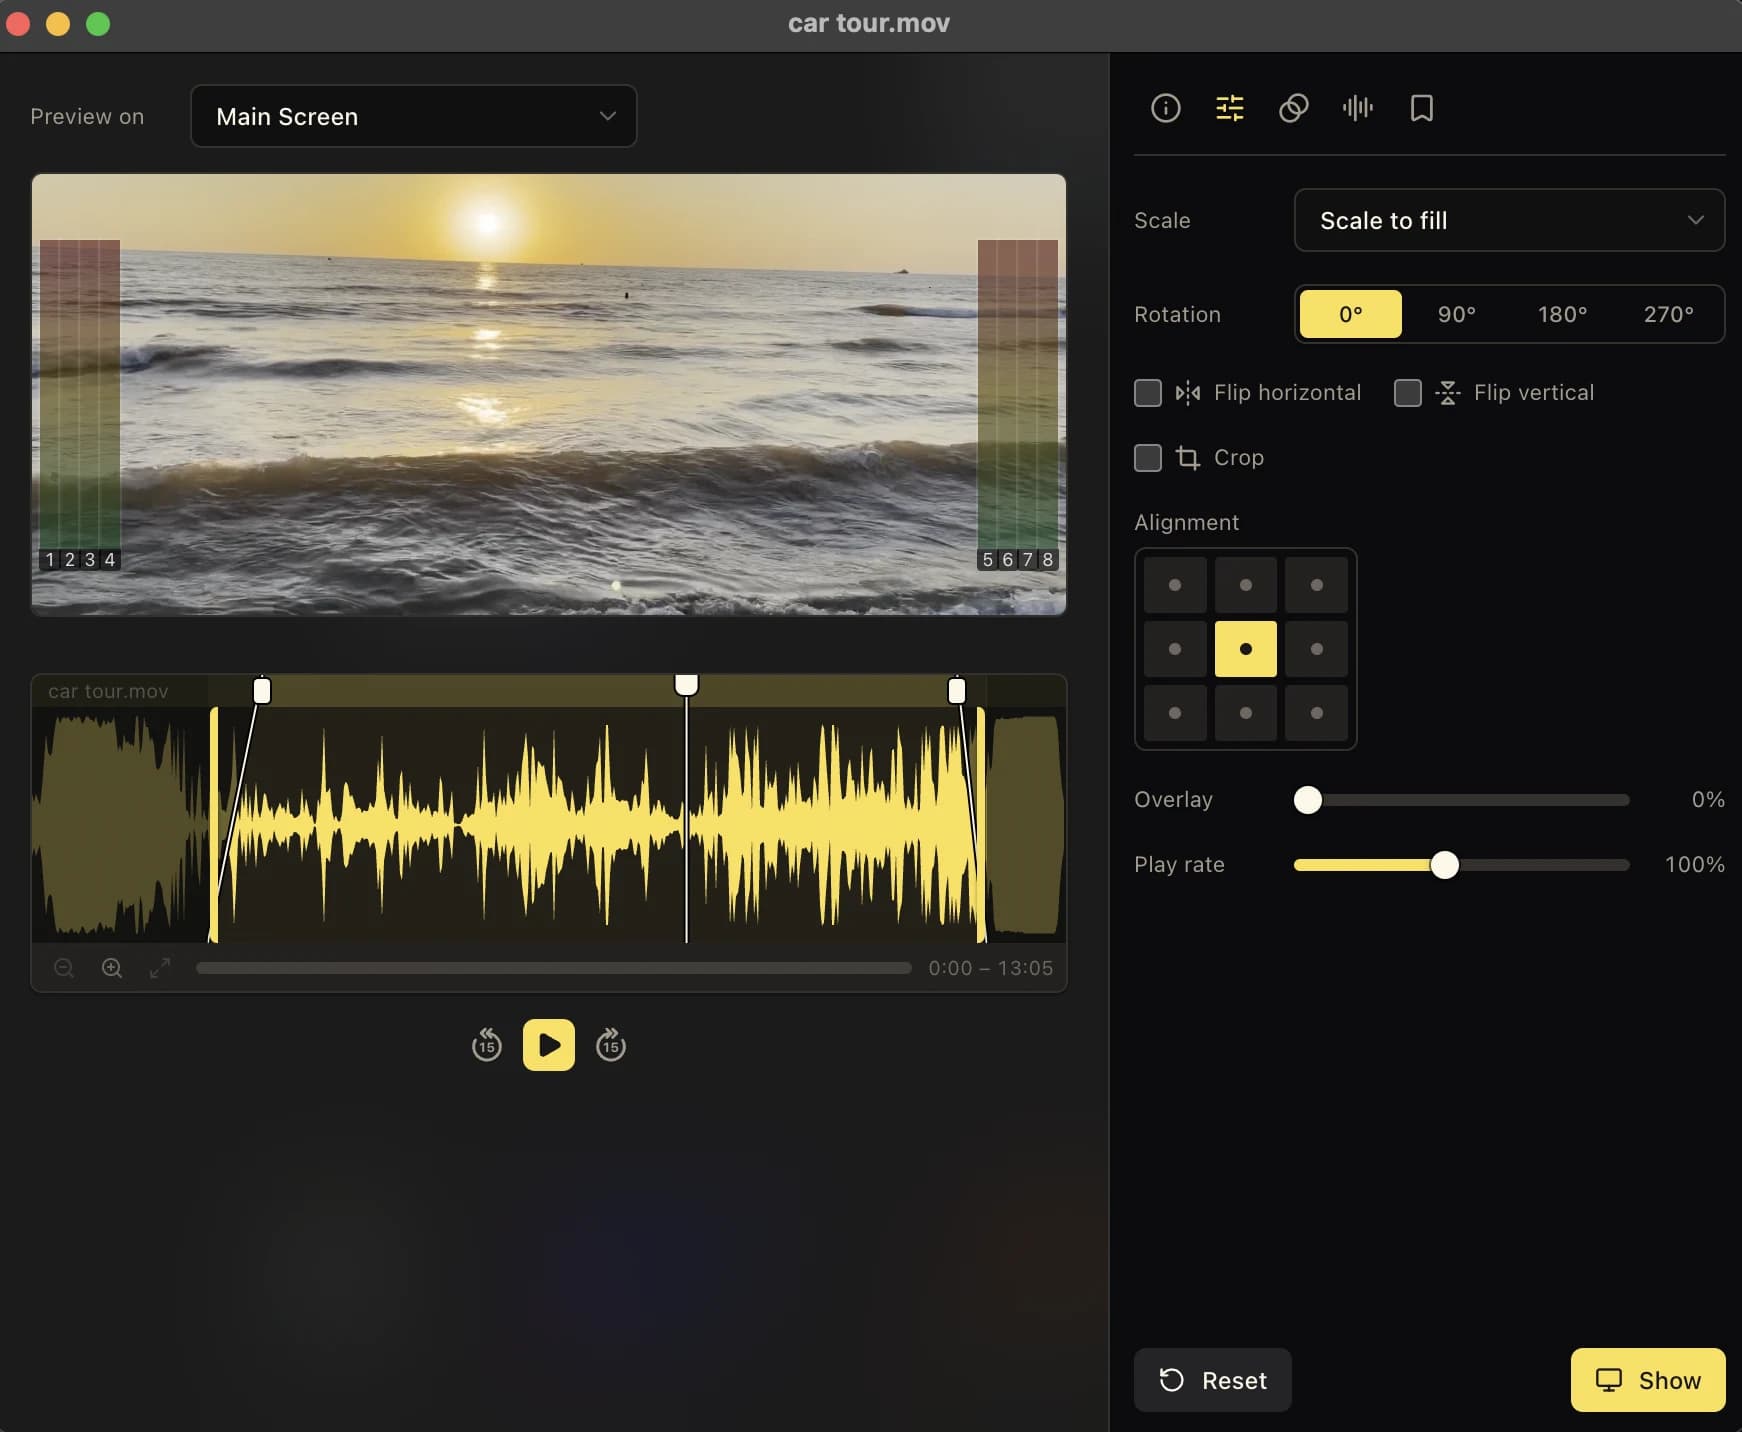
Choose a screen from Preview on to see how the video fits that output. In the Inspector tab, choose the scale mode, rotate or flip the image, enable crop, pick one of the nine alignment positions, and add an overlay when the picture needs to sit behind text or graphics.
Use the play controls below the waveform to check the result, or jump backward and forward by 15 seconds. Play rate changes the speed from 20% to 200%. Reset restores picture framing, trim, and play rate defaults without removing the file name, bookmarks, or audio routing.
03
Trim, fade, and navigate the waveform
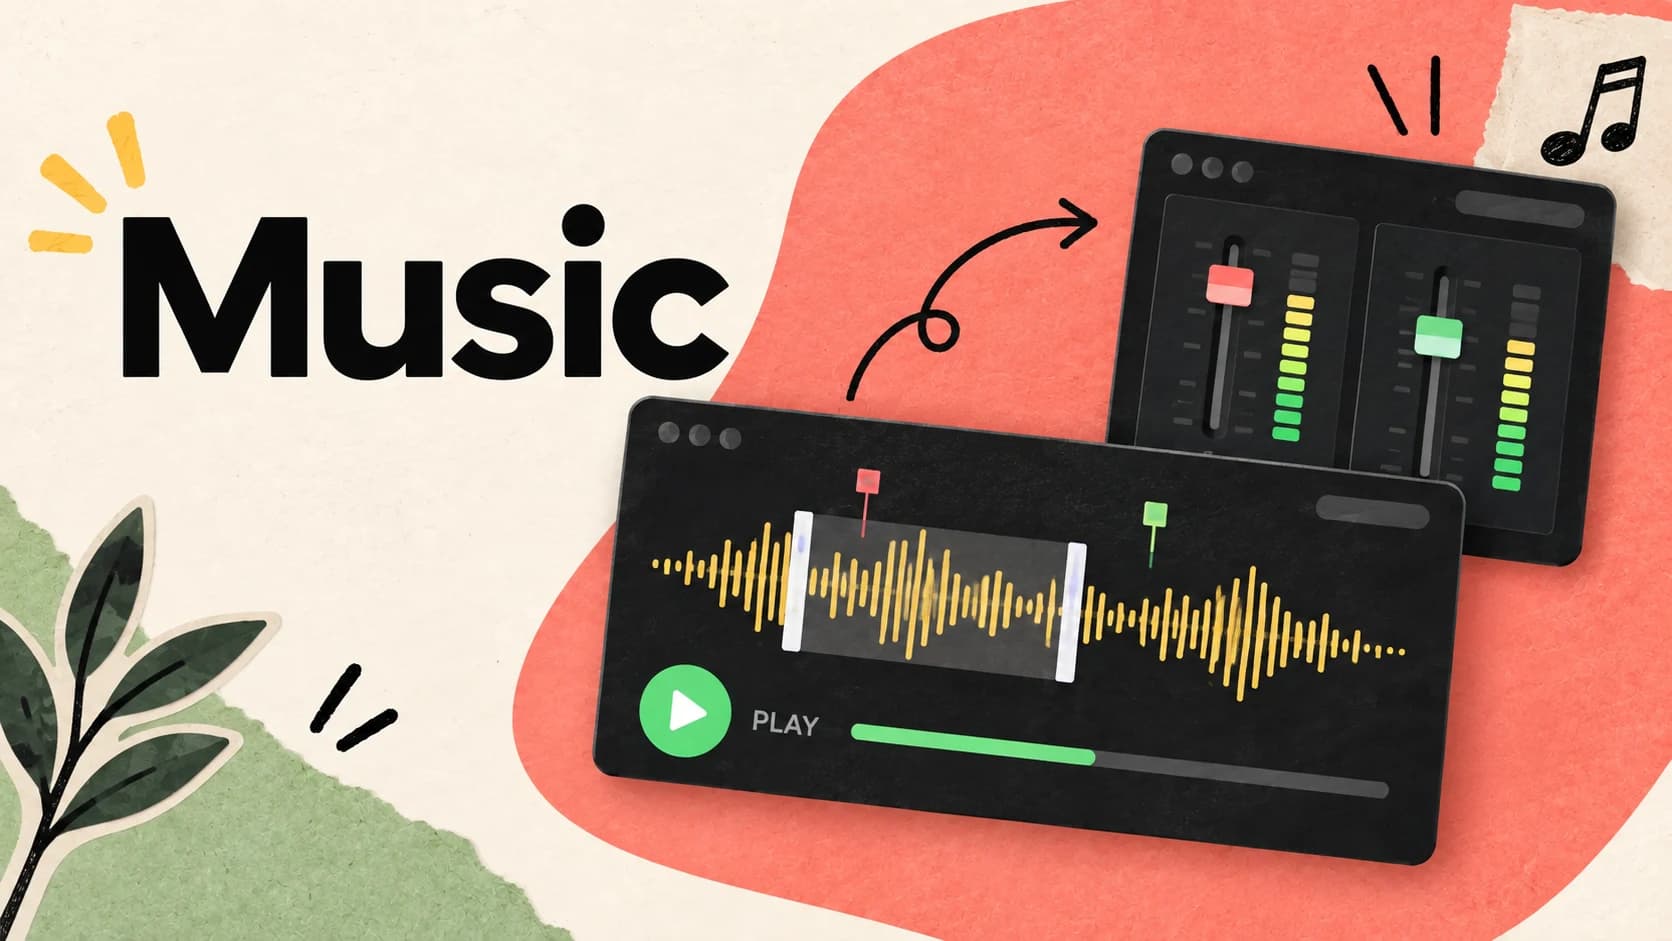
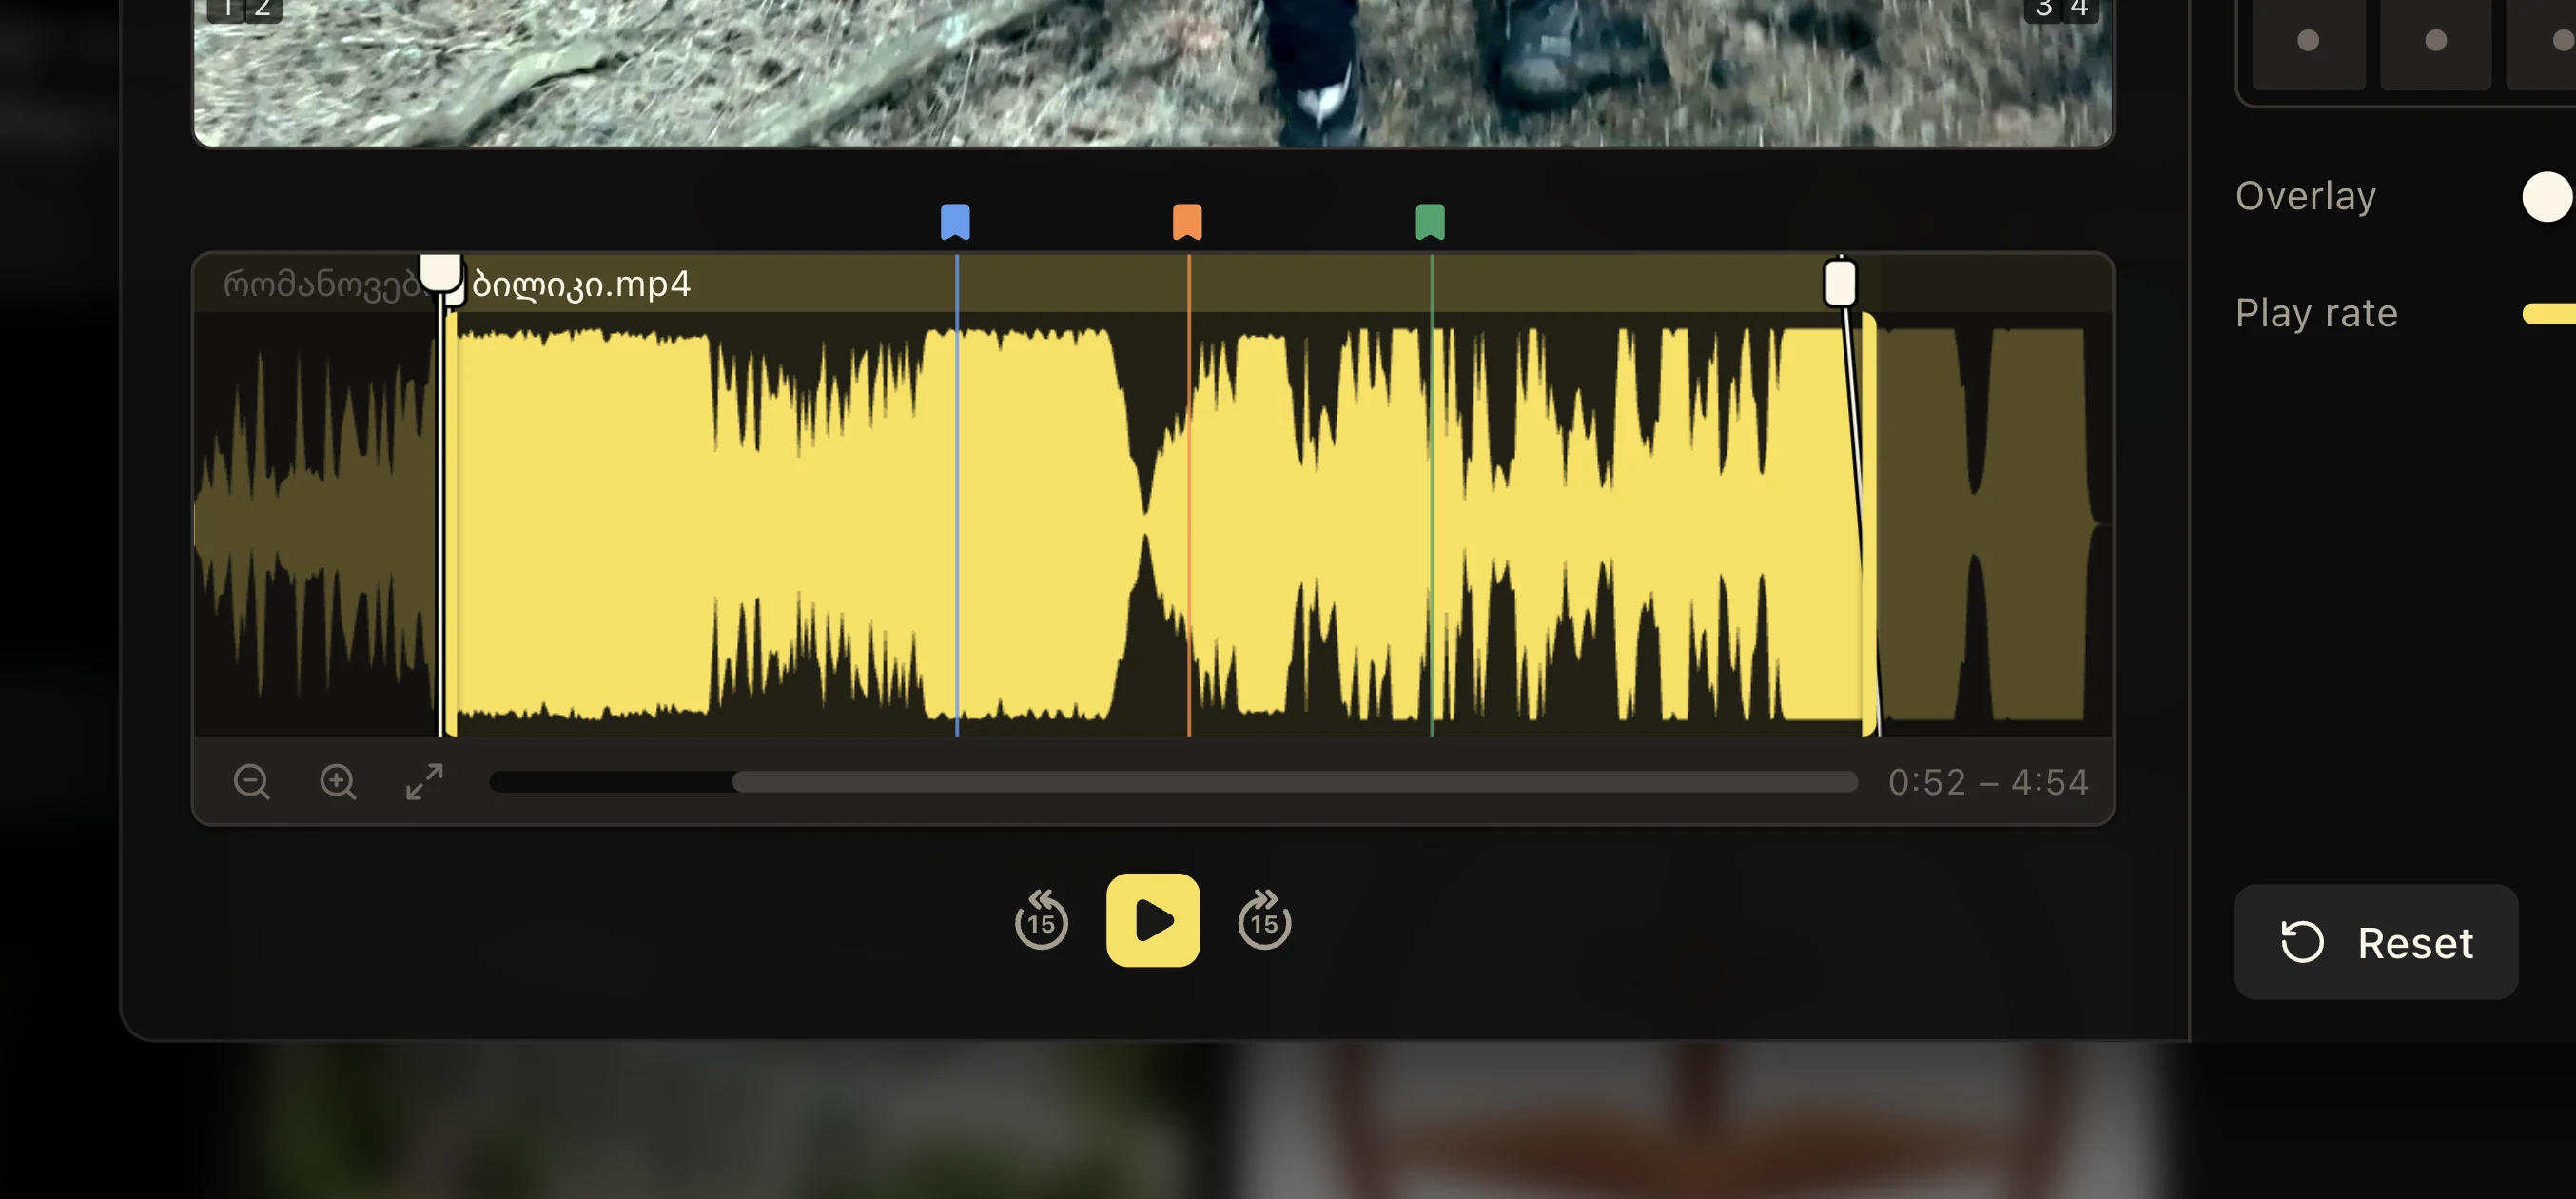
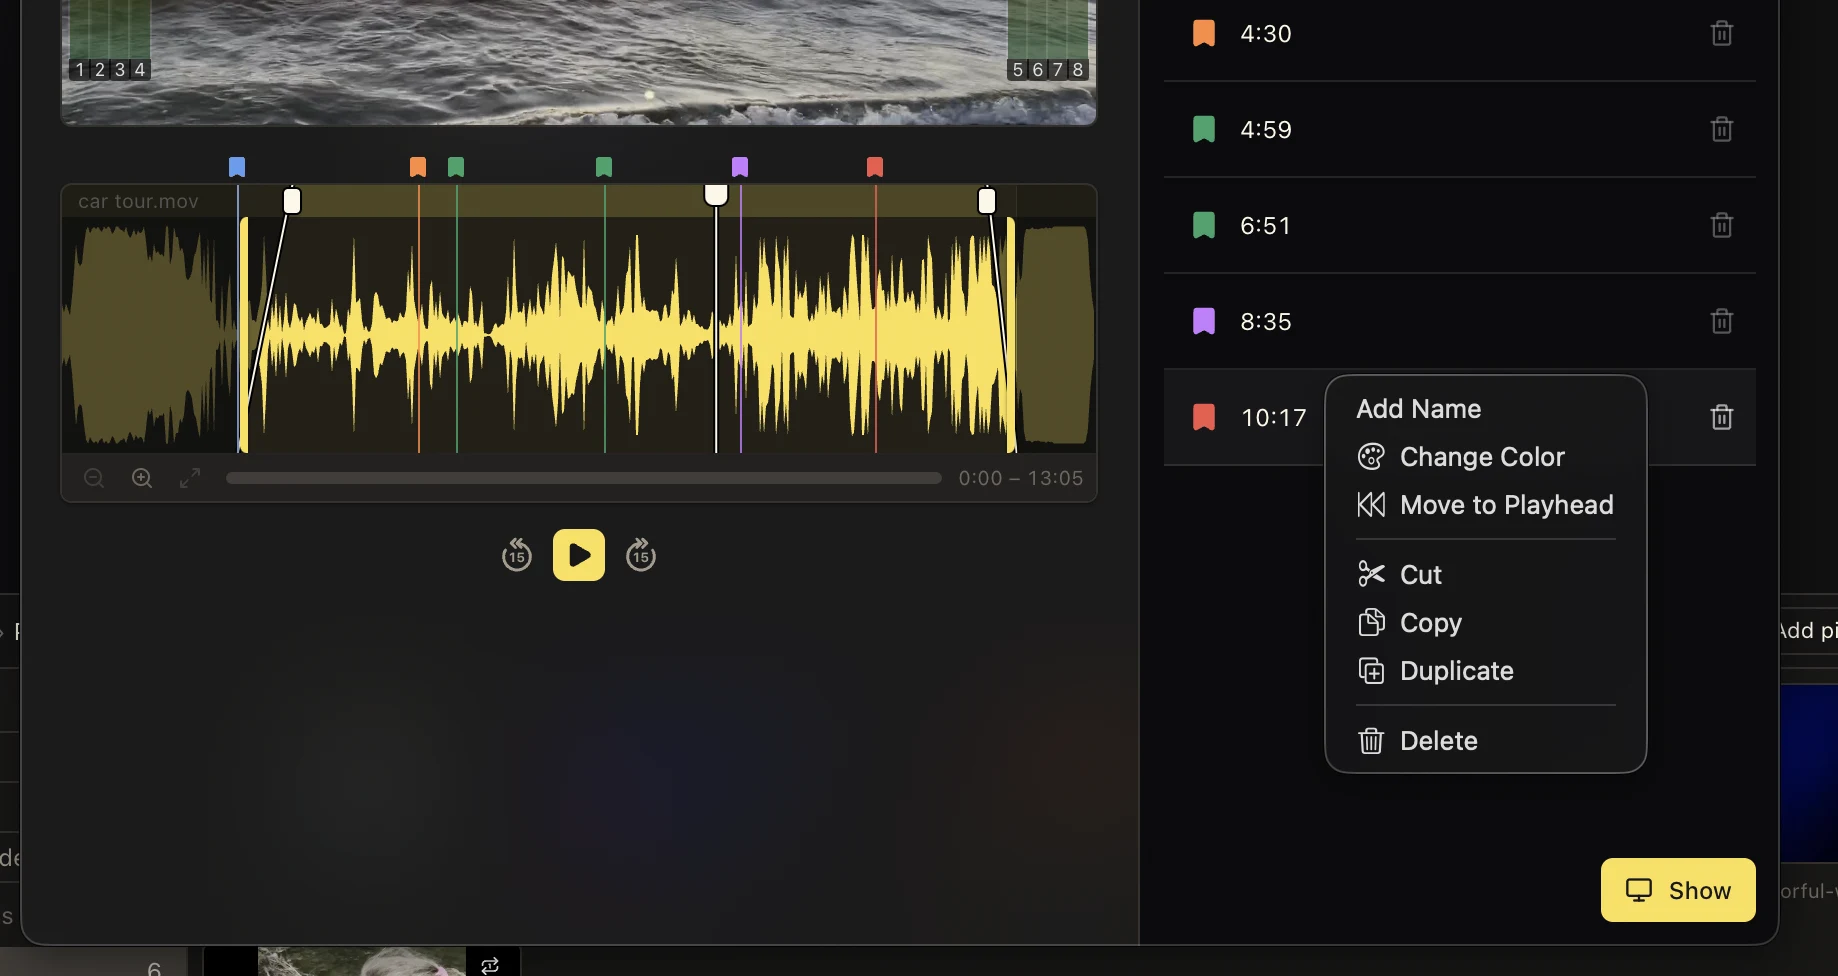
Drag the white start and end handles to define the part of the video that should play. The sloped lines beside them control the fade-in and fade-out, while the playhead shows the current frame. The time readout confirms the selected range.
Use the zoom controls at the lower left when a precise edit is difficult at full duration. Colored flags above the waveform are bookmarks; select one to jump directly to that moment while rehearsing or editing.
- 01Drag the start handle to the first frame you want to keep.
- 02Drag the end handle to the final frame you want to play.
- 03Adjust the sloped fade handles if the audio should enter or leave gradually.
- 04Scrub the playhead and press Play to check the selected range.
04
Route and mix audio channels
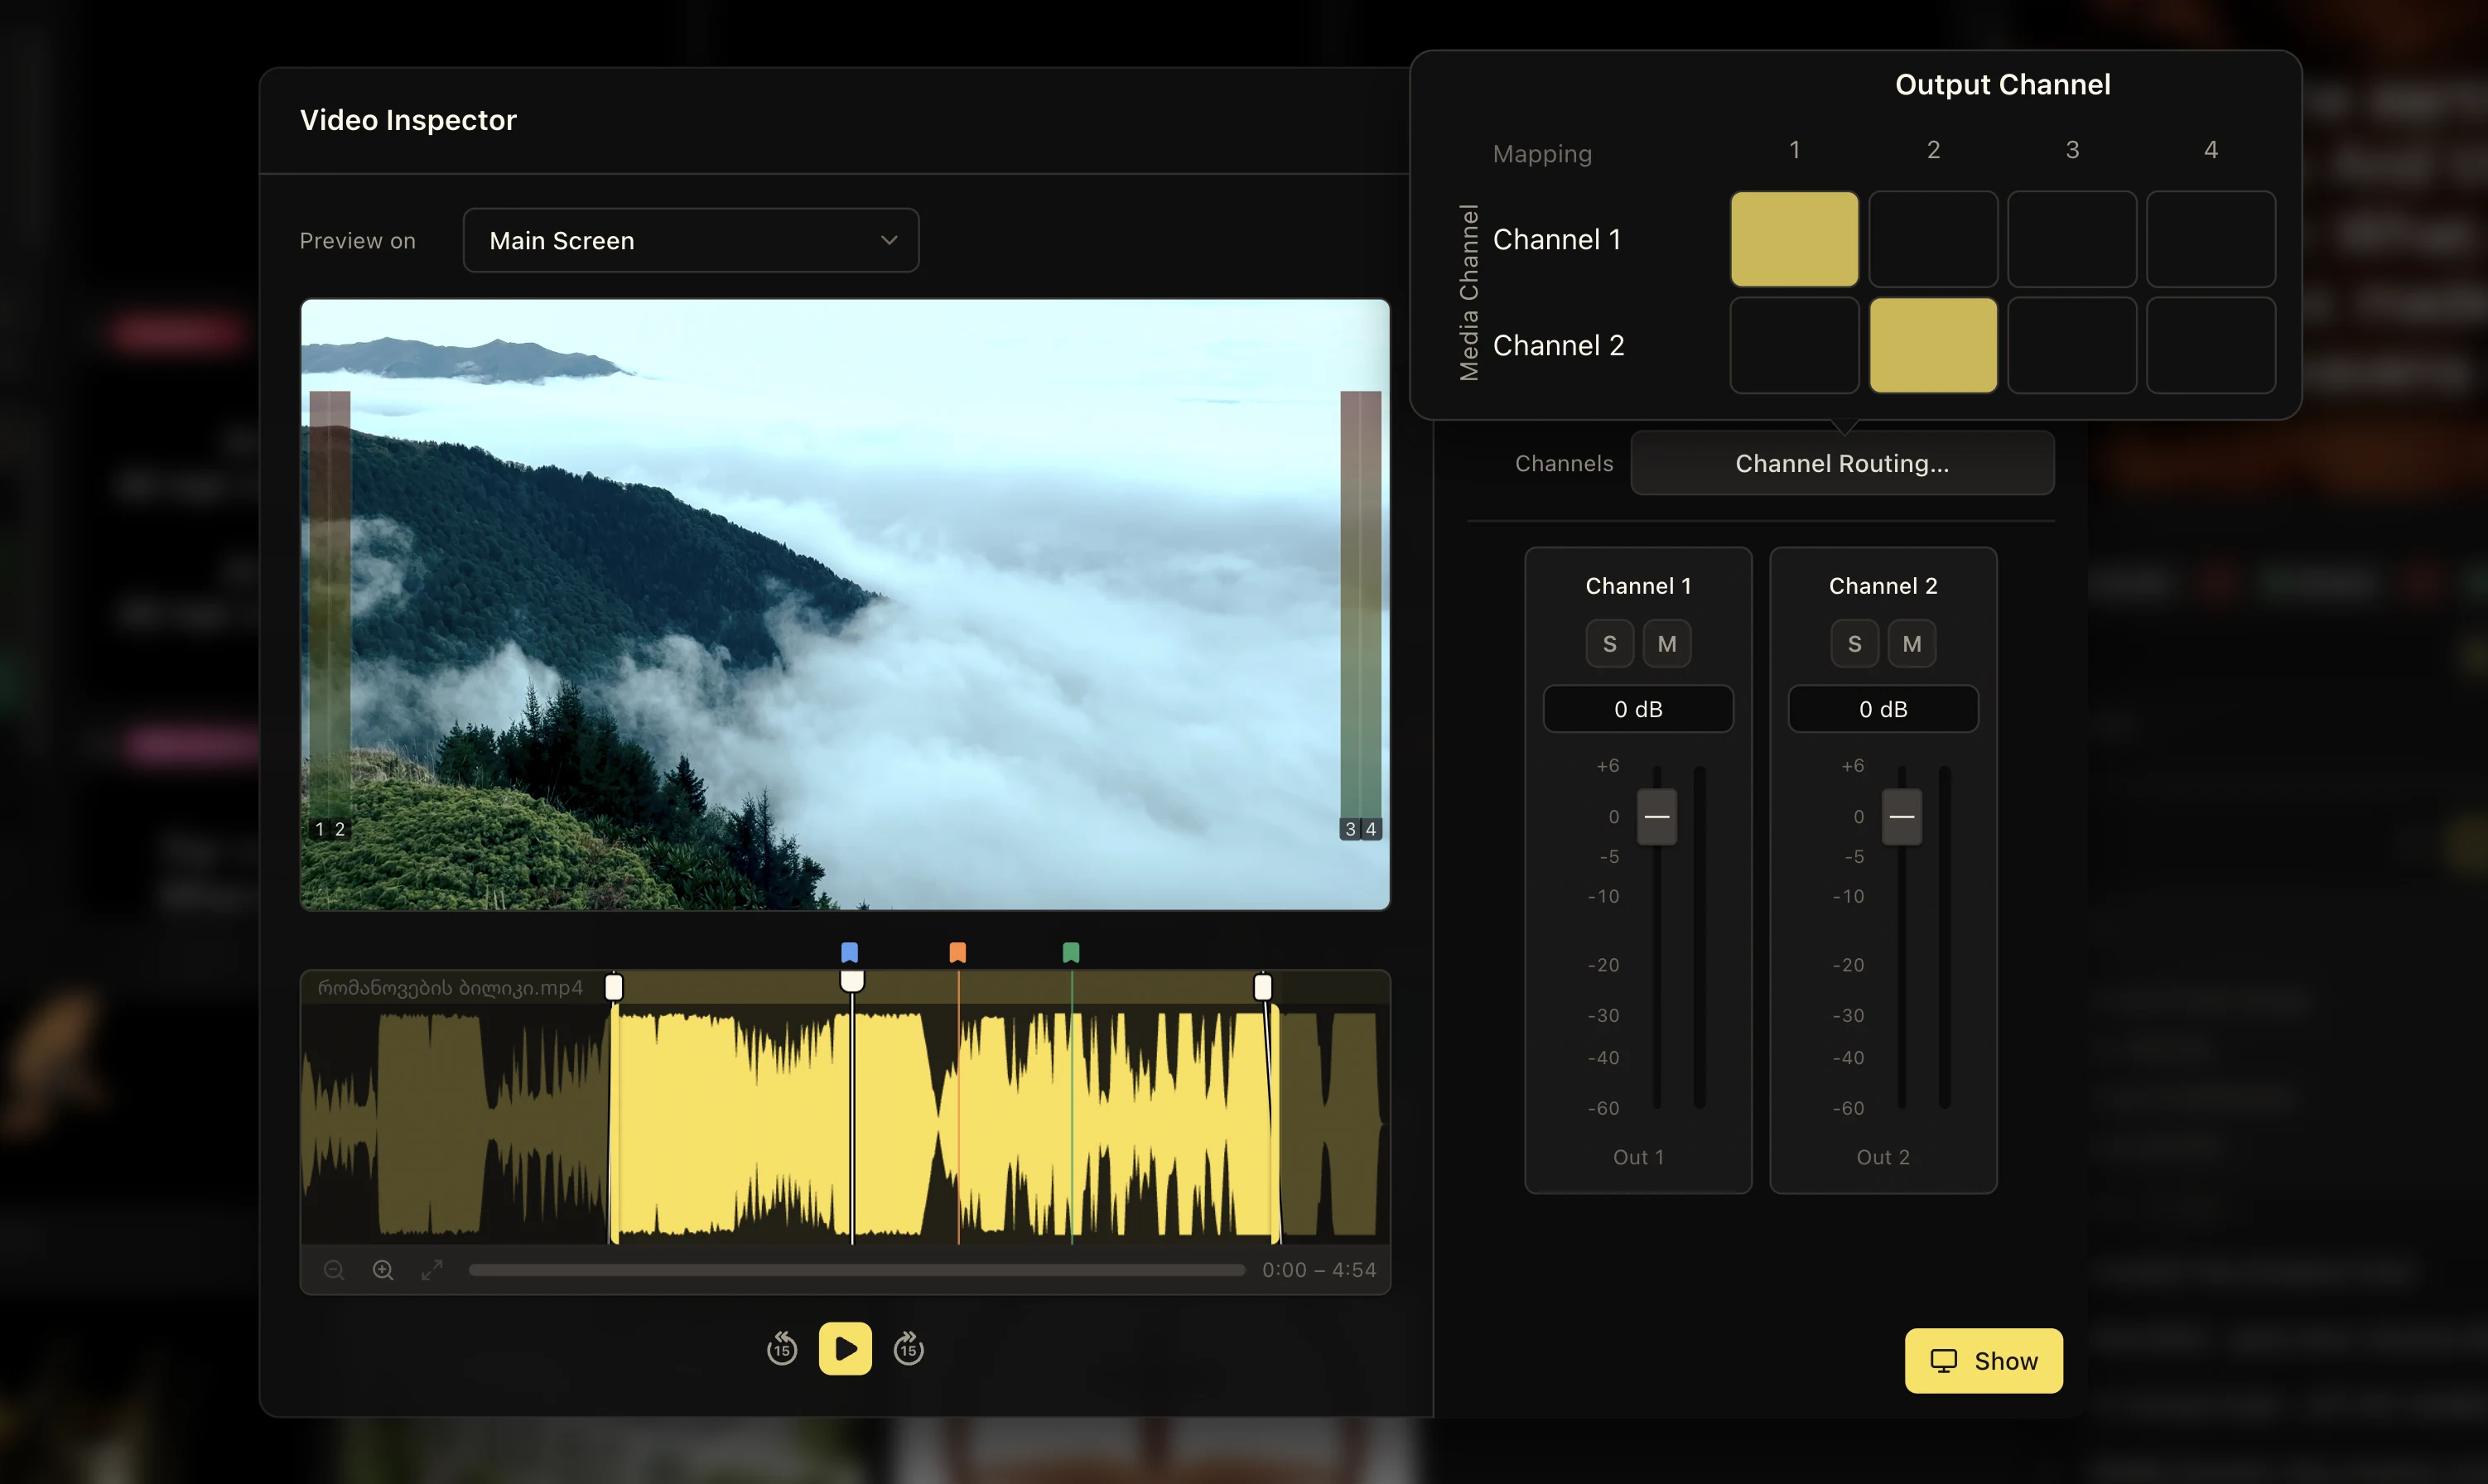
Open the Audio tab when a video has more than one media channel or needs a specific output path. Channel Routing maps each media channel to an output channel, which is useful for stereo files, split tracks, or installations with dedicated audio destinations.
Each channel strip has Solo and Mute controls, a level value, and a fader. Rehearse the video after routing it so the expected channels reach the expected outputs at a useful level.
Routing follows the media item
Check the routing again when the same file is used in a room with a different output configuration.
05
Add and manage bookmarks
Bookmarks turn important moments into visible cue points. Add one at the playhead, give it a name and color, and select it later to return to that exact moment. The same colored marker appears above the waveform and in the bookmark list.
Open a bookmark’s menu to rename it, change its color, move it to the current playhead, cut, copy, duplicate, or delete it. Duplicate is a quick way to build several nearby cues before placing each one precisely.
Keep these three
The short version
- Preview and frame the video for the screen where it will be shown.
- Set the playable range and fades directly on the waveform.
- Route and mix the media channels before rehearsal.
- Use named, color-coded bookmarks for repeatable cue points.