Guide 147 min read
LlamaPresenter - Display
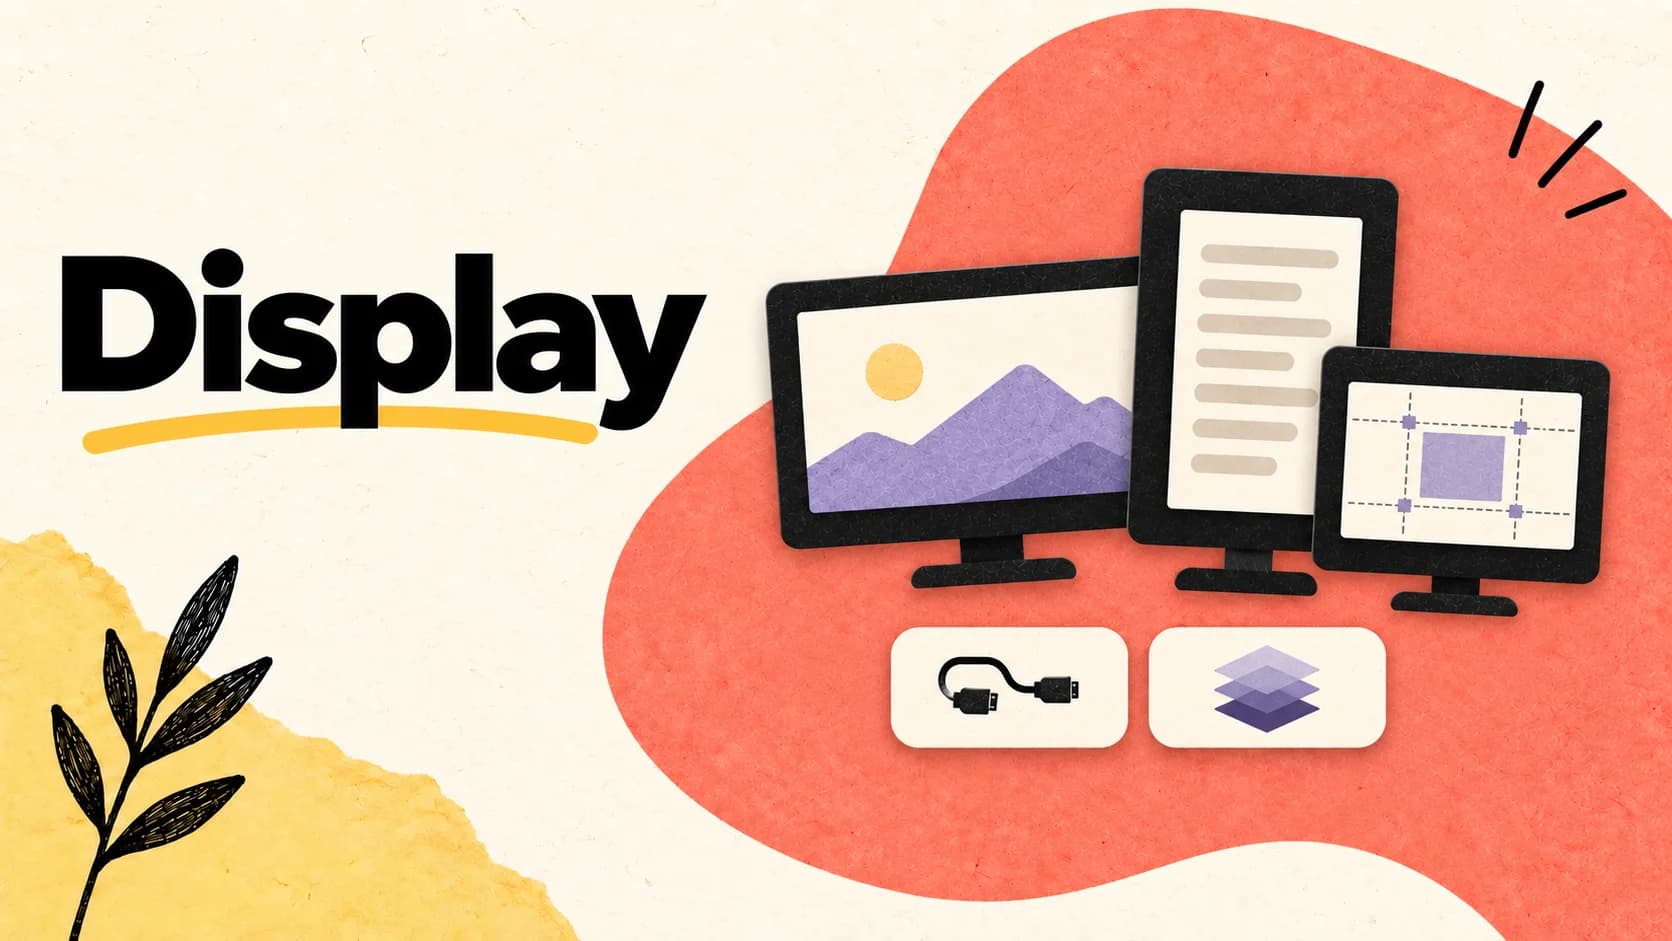
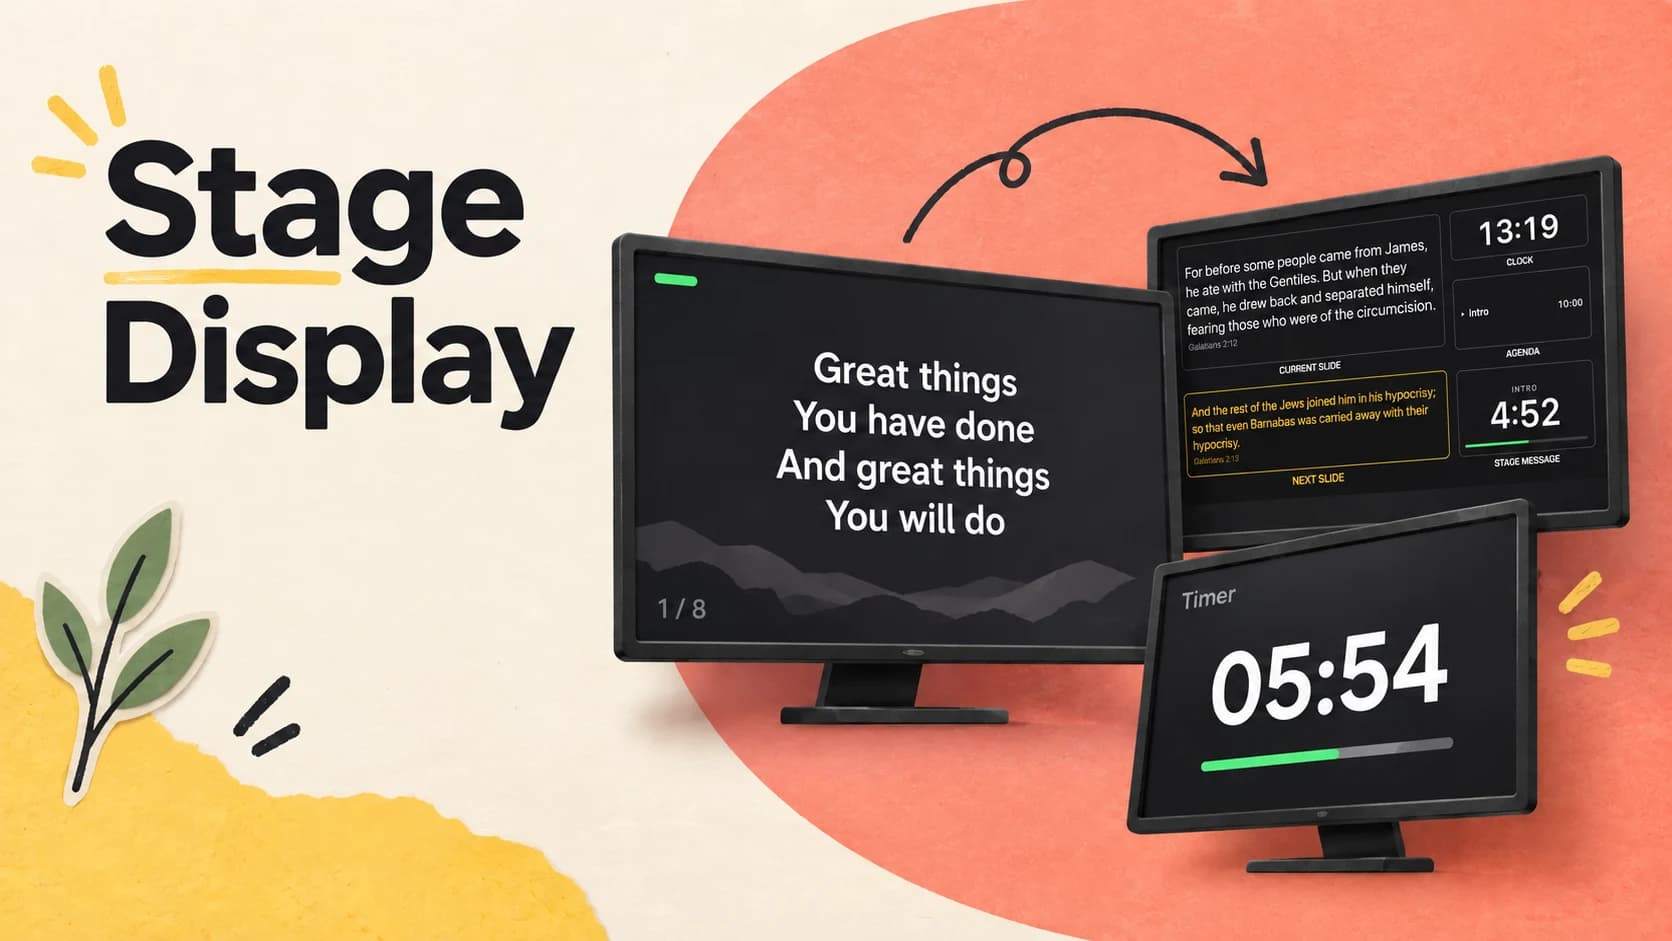
Display settings connect your service content to room screens, streaming software, and stage monitors. Each output has its own destination and picture settings, so a landscape projector, portrait feed, and confidence monitor can serve different purposes.
Open Display in the desktop app to manage Projector, Stream, and Stage outputs. Configure the destination first, then check placement, picture adjustments, and transparency before rehearsing with actual content.
What this guide helps you do
Name your outputs, choose their destinations and formats, adjust the picture, then identify and test each screen.
01
Organize projector, stream, and stage outputs
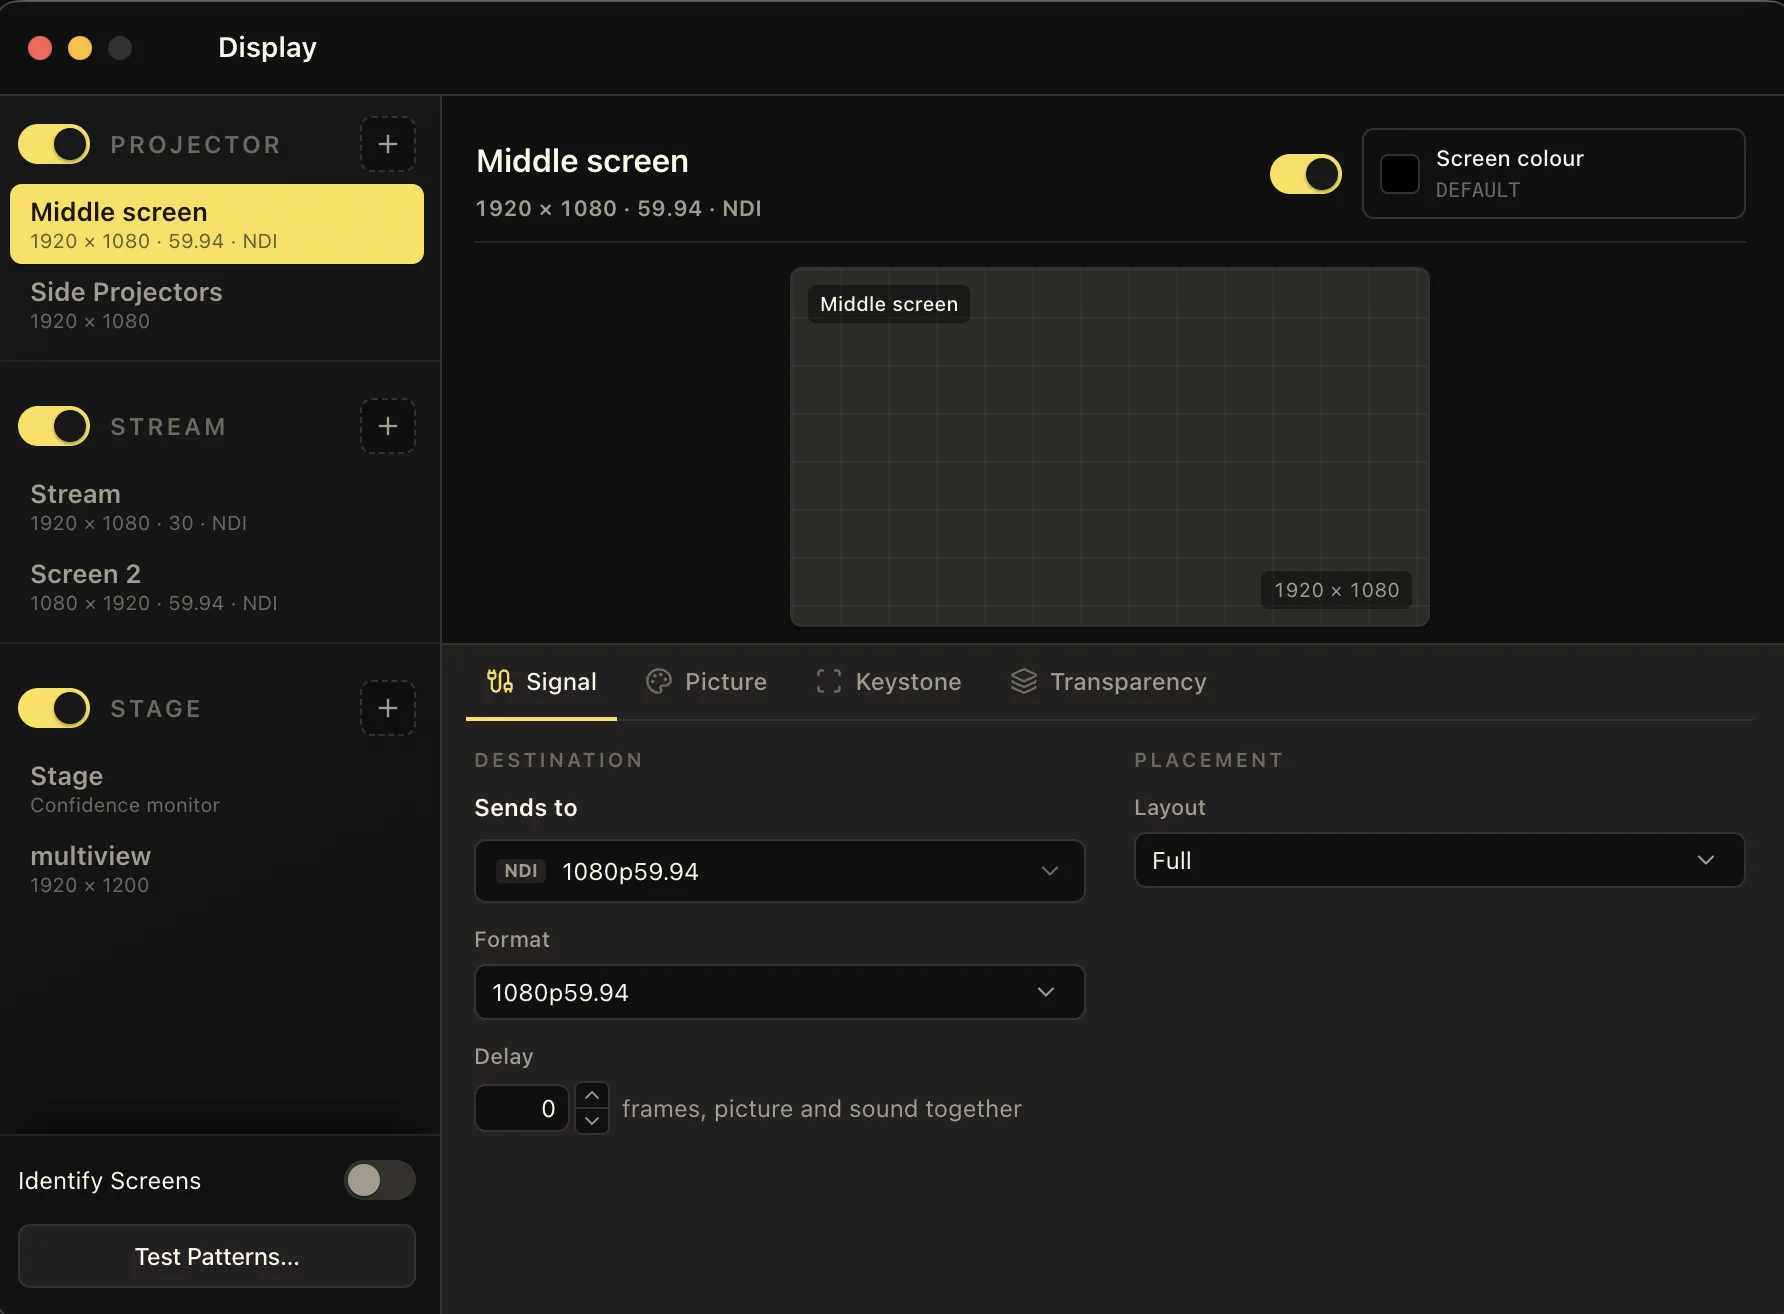
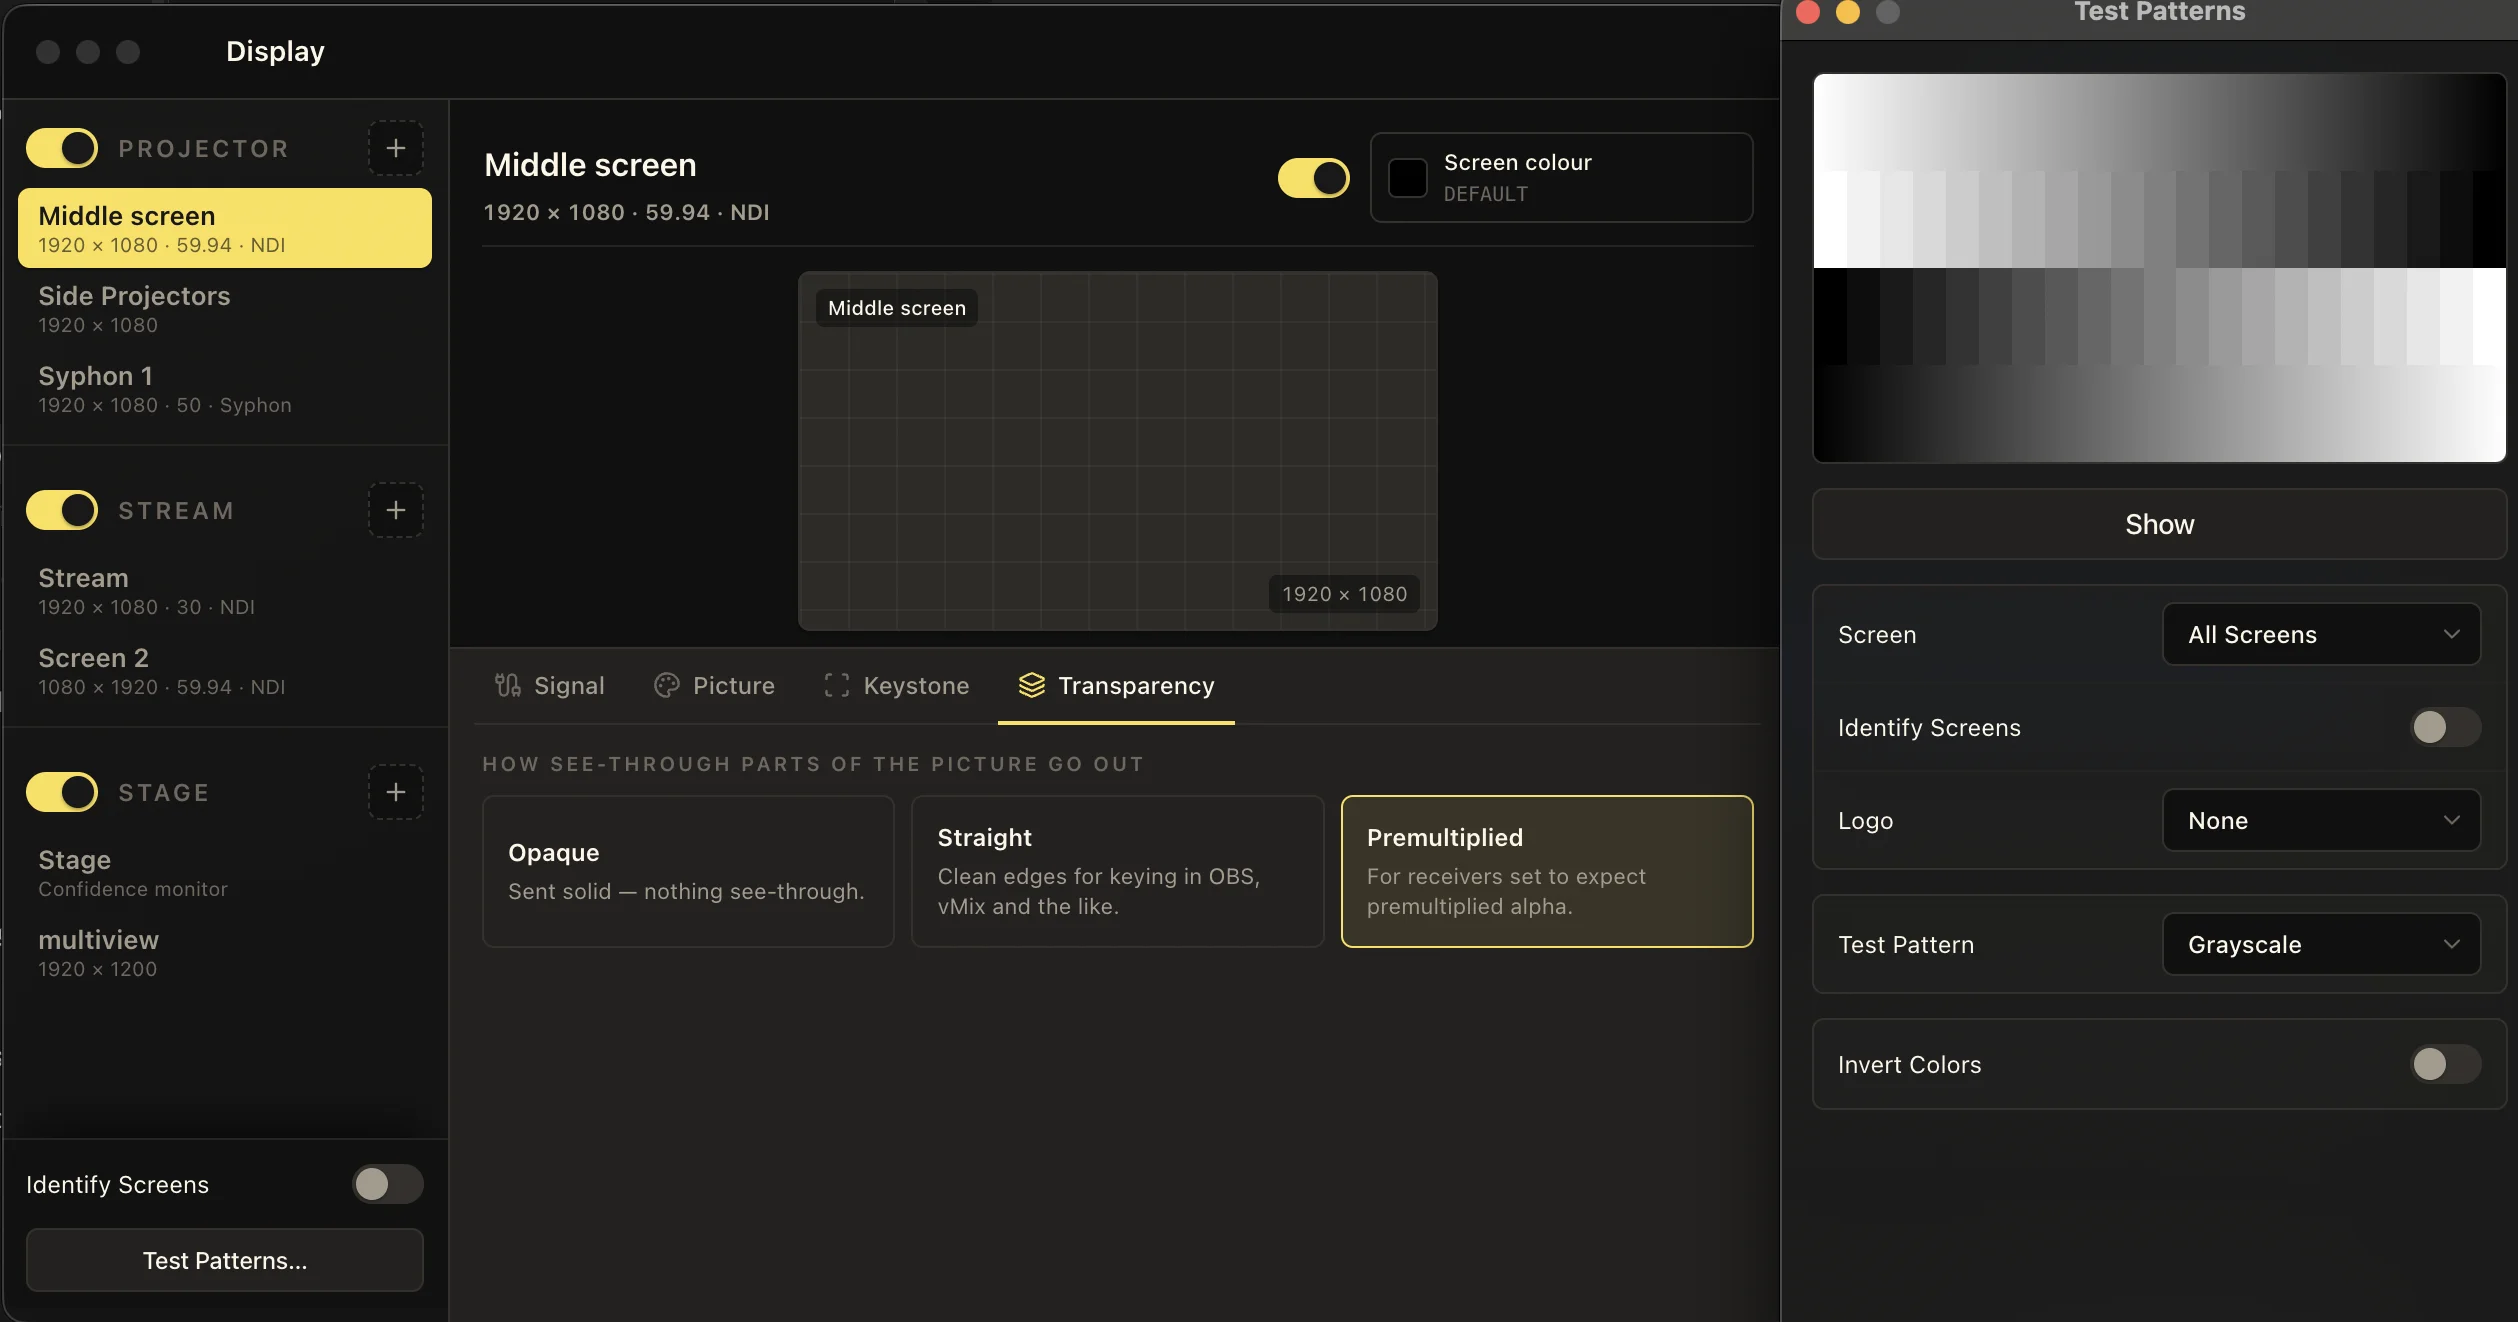
The sidebar groups outputs under Projector, Stream, and Stage. Select an output to edit its settings. Use the plus button beside a group to add an output, and give each screen a name that describes its role, such as “Middle screen,” “Side Projectors,” or “multiview.”
The group switches control their output groups, while the switch beside the selected output controls that individual output. Check both when an expected destination is not showing. The selected output’s header and preview show its name and dimensions; published outputs also show their frame rate and transport.
02
Choose where the output goes
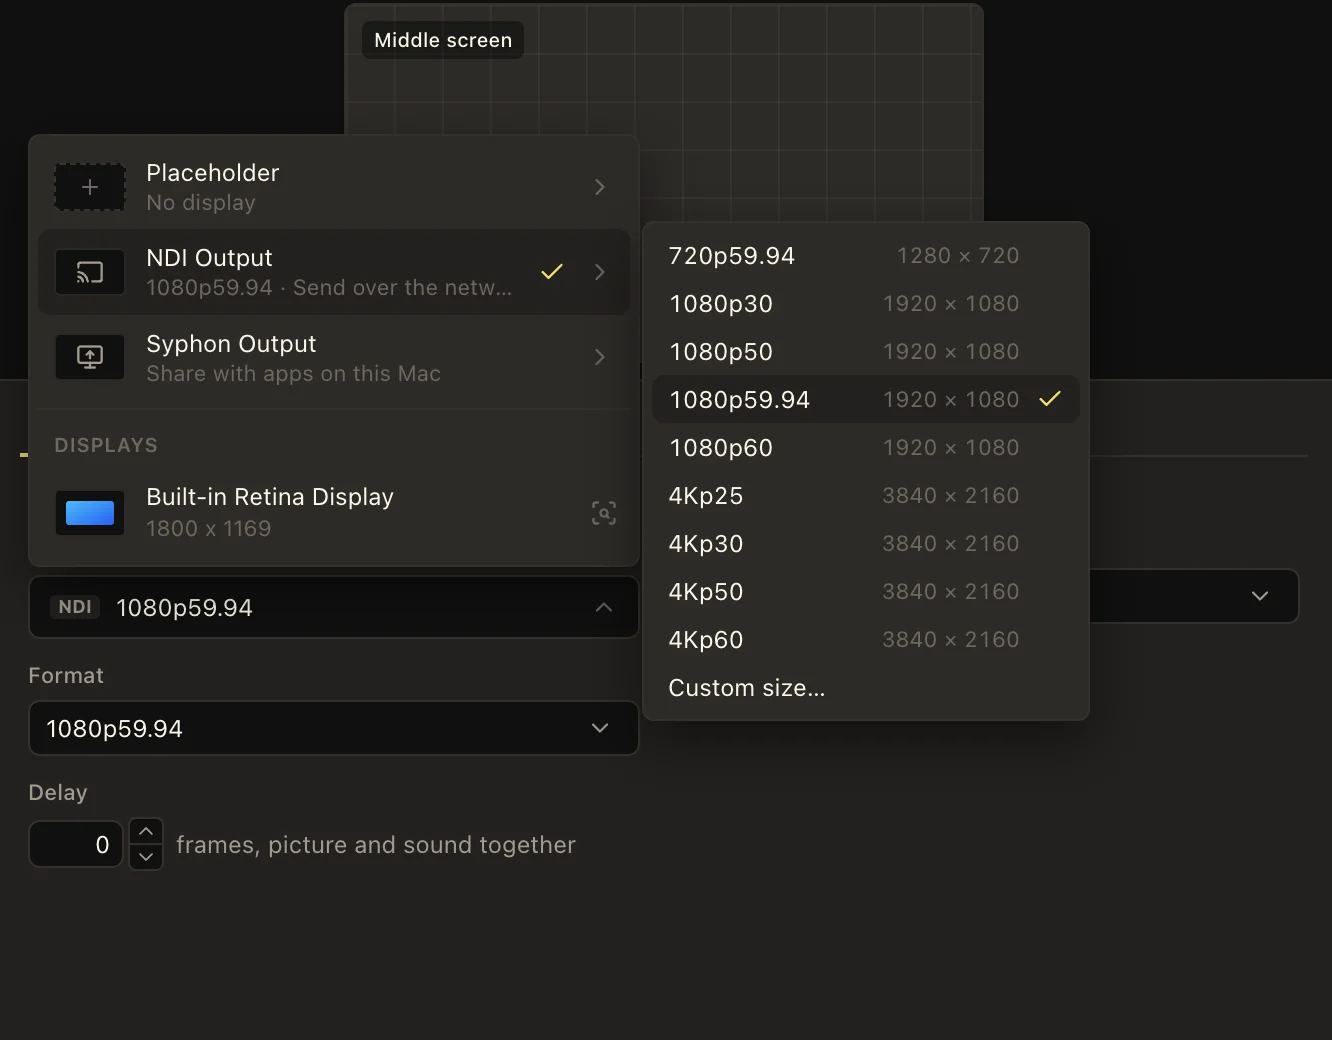
In Signal, open Sends to. Choose a connected physical display to use a room screen or monitor. Placeholder keeps an output configured without assigning a physical display, which is useful while preparing the setup.
Choose NDI Output to publish over the network, or Syphon Output to share the picture with compatible apps on the same Mac. These publishing options depend on desktop support; Syphon is available on supported Mac desktop builds. Select the destination that matches the receiving system, then confirm the feed there.
03
Set the format, placement, and output delay
For a published output, choose a Format that matches the receiving workflow. The menu includes resolution and frame-rate combinations such as 1080p30, 1080p59.94, and 4K formats, plus Custom size… . The overview also shows a portrait Stream output at 1080 × 1920; configure dimensions for the shape you need.
Under Placement, Full uses the full output. Grid layouts such as 2 × 1, 2 × 2, and 3 × 1 divide the destination into cells; Alignment selects the cell where the picture is scaled and placed. Custom lets you set a different grid.
Published outputs also offer Delay in frames. For NDI, this delays picture and sound together. It shifts the complete output later; use the main Audio Delay control described in the Test Patterns guide when you need to sync sound with a picture that arrives late.
04
Adjust screen colour and picture correction
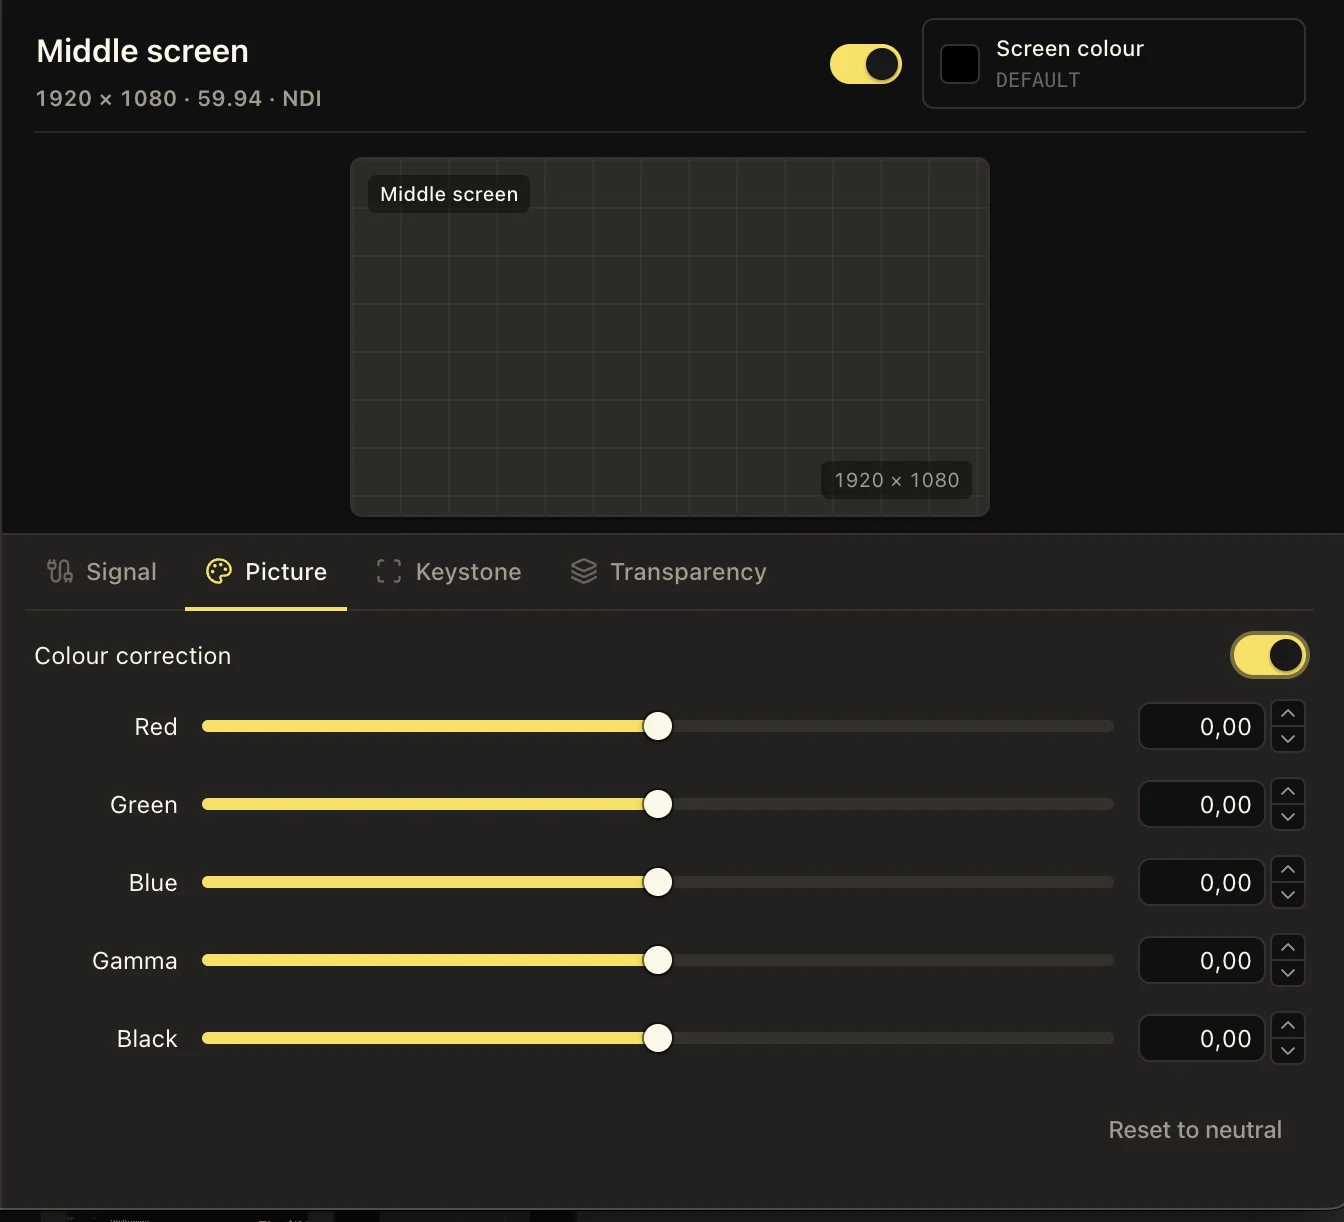
Use Screen colour beside the output header to choose its screen background colour. Open Picture and enable Colour correction when that output needs an adjustment.
Red, Green, and Blue adjust the colour channels, while Gamma and Black adjust the tonal response. Use the sliders or numeric fields, make small changes, and compare the actual output with a reference pattern. Reset to neutral returns the correction values to their neutral settings.
05
Align the picture with Keystone
Open Keystone and enable Keystone correction to adjust the four corners of the output picture. Each corner has X and Y offsets in pixels; positive values push the corner outward from the middle.
Use a Blend Grid test pattern while making adjustments so you can see the border and reference lines clearly. Reset corners clears the corner offsets while keeping the correction switch in its current state. Recheck text and image framing after aligning the picture.
06
Match transparency to the receiving app
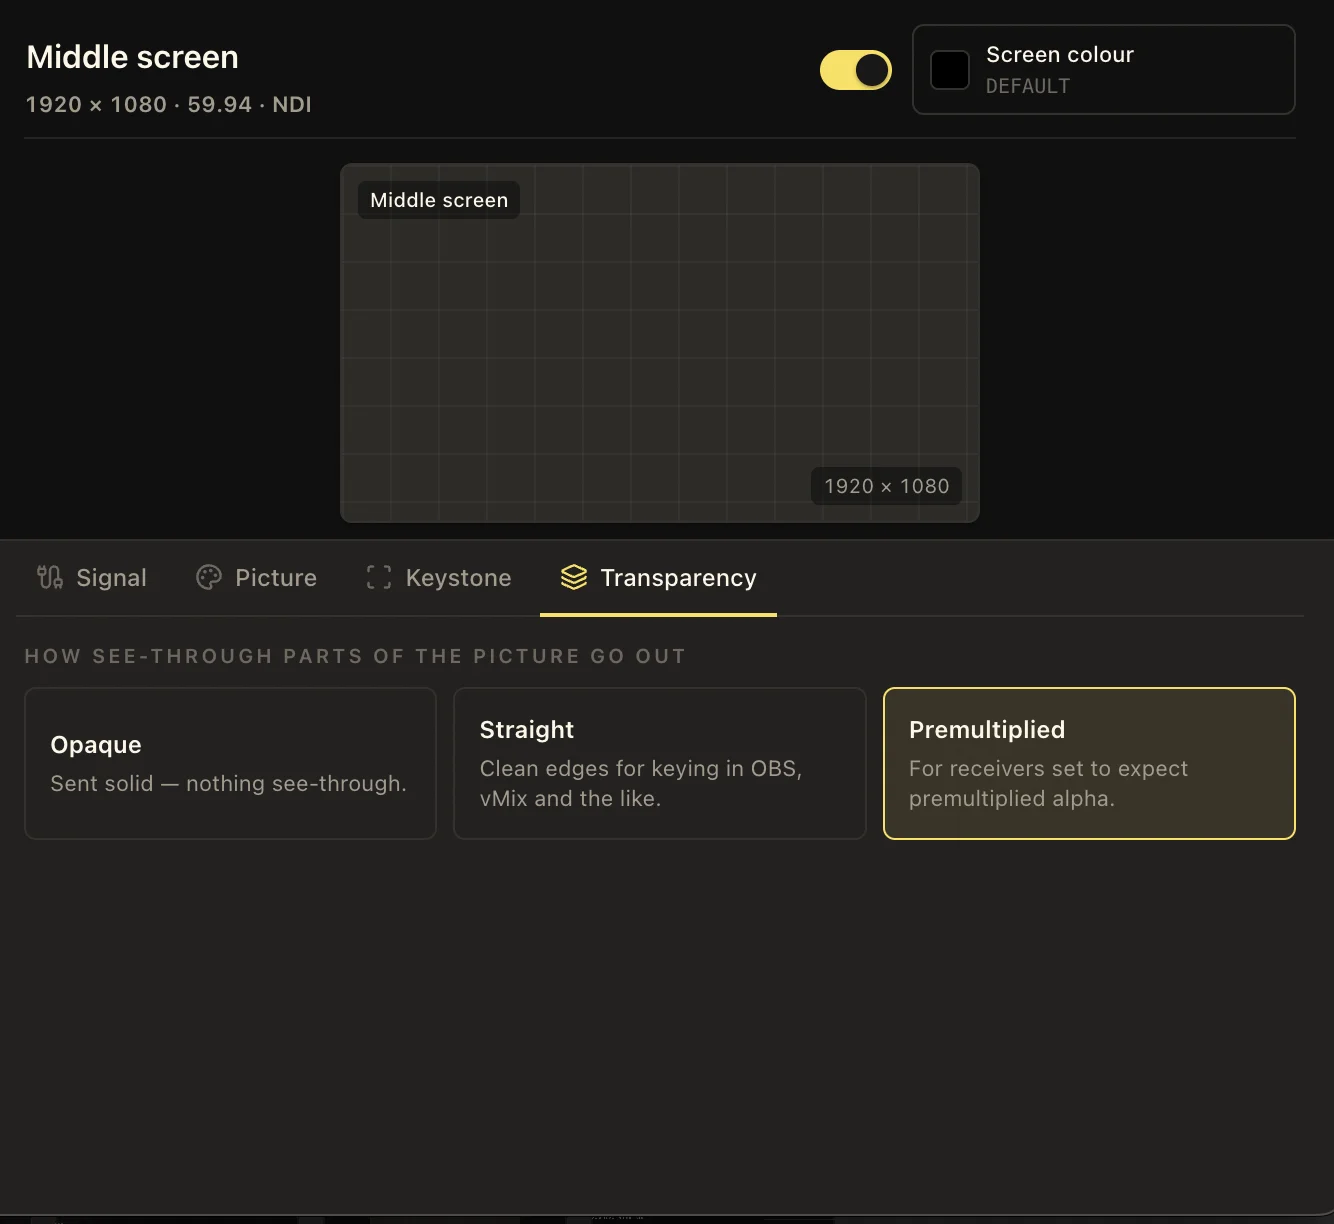
Transparency controls how see-through parts of the picture are sent through NDI or Syphon. Choose Opaque for a solid picture without transparency. Choose Straight when the receiving workflow expects straight alpha, or Premultiplied when it expects premultiplied alpha.
Match this setting with the receiver’s alpha interpretation, then inspect text and graphic edges over the receiver’s background. Selecting a transparency mode preserves available transparent areas; the source content must also contain transparency. These options are unavailable for physical display destinations.
07
Identify screens and confirm their destinations
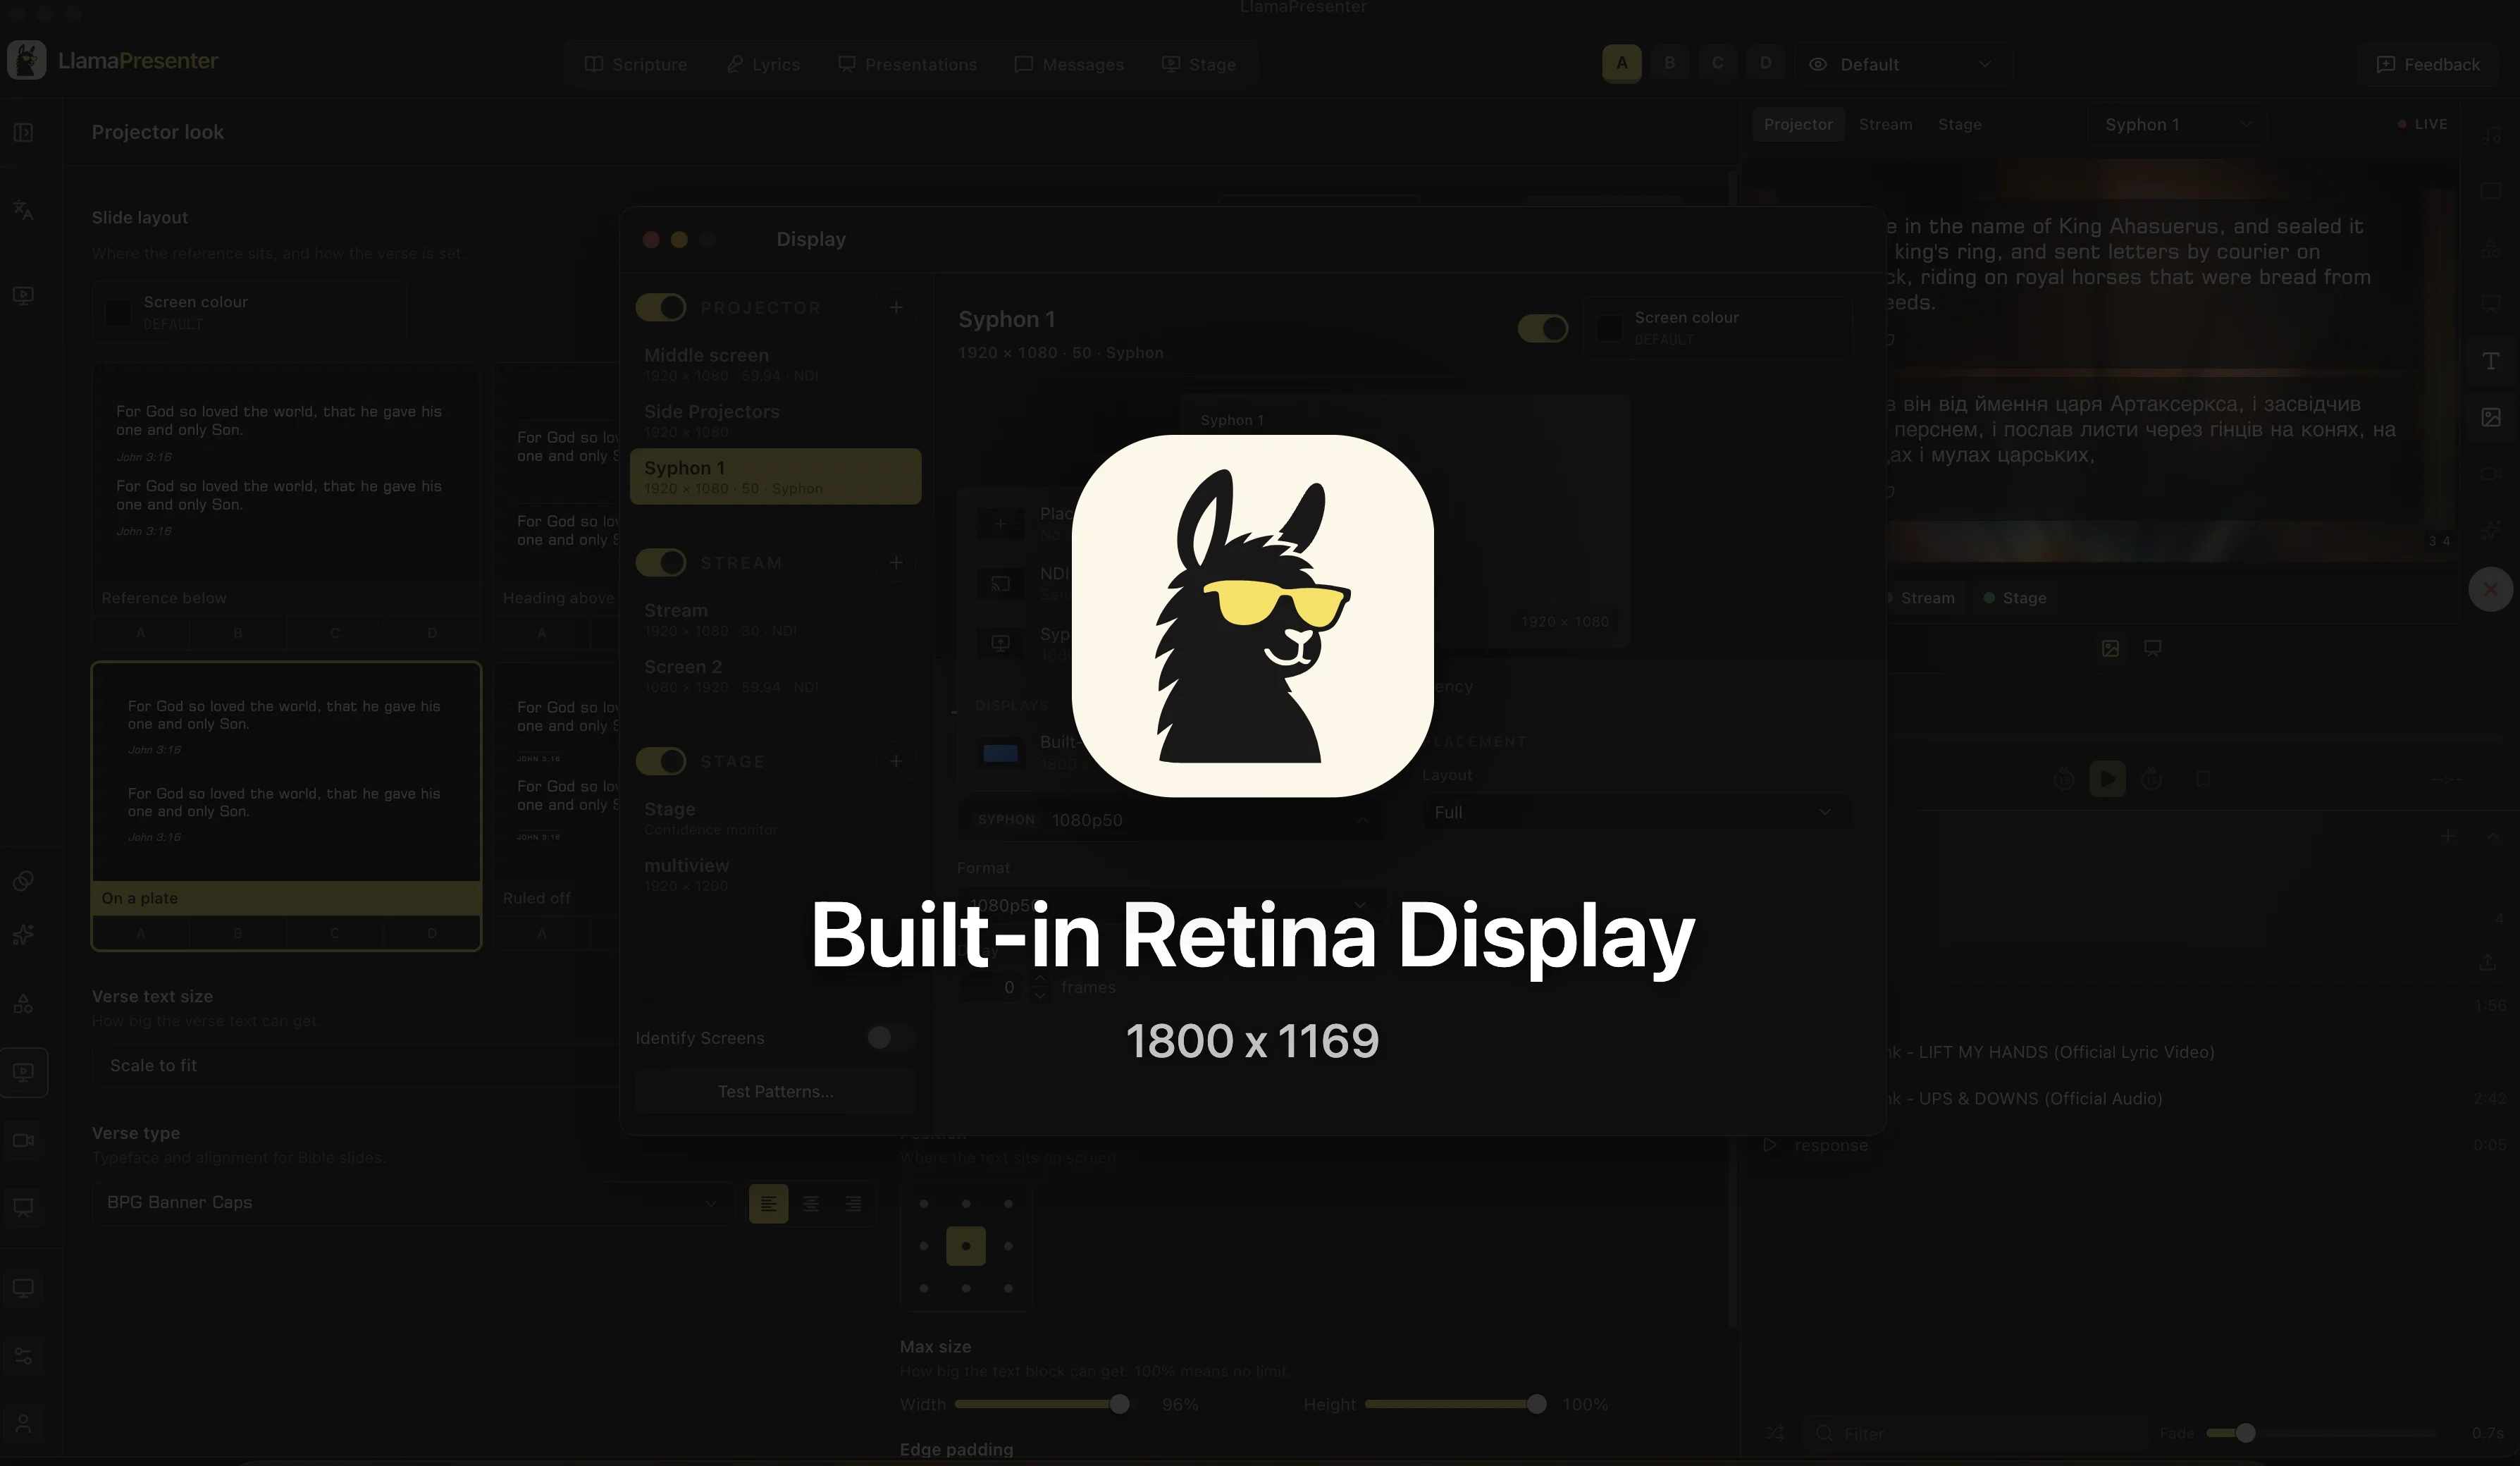
Turn on Identify Screens at the bottom of the Display sidebar to see which display is which. Identification labels appear over the screen content, making it easier to match the names in Display settings with the physical screens in your setup.
The example identifies the Built-in Retina Display at 1800 × 1169. Read the name and dimensions on each display, then compare them with the destination you selected under Sends to. This is especially useful when several monitors or projectors are connected and their names alone do not tell you where they are in the room.
If an output appears on the wrong screen, turn identification off, select that output in the sidebar, and change its destination. Turn Identify Screens on again to confirm the assignment. The same switch is available in Test Patterns, and its state is shared with Display. Turn it off when you finish so the labels no longer cover your content.
08
Test the complete setup
Once you have confirmed the screen destinations, open Test Patterns… to check framing, geometry, contrast, text readability, and motion.
Select the output you are adjusting or All Screens, choose a reference pattern, and press Show. The example has Grayscale ready for checking tonal detail. Compare the actual screens and the receiving apps as well as the Studio preview.
Hide the pattern and turn off identification labels when you finish. Rehearse with lyrics, Scripture, presentations, and media. Use Audience Looks to control which content types appear on each configured output during the service.
Translation sources
Continue with these guides for output checks and content visibility.
Keep these three
The short version
- Name outputs by their role and confirm that the group and output are enabled.
- Match each destination, resolution, and frame rate to the receiving workflow.
- Adjust placement, picture correction, and keystone for the selected output.
- Match NDI or Syphon transparency to the receiving app.
- Identify and test the outputs before rehearsing real service content.